Want to create great-looking home movies but don't have the time to spend learning about video editing and special effects? Or simply don't have time, period? Roxio's CineMagic Assistant, part of the Creator 2009 suite, was made just for you. With CineMagic, all you do is bring in clips from your video camera, make a few quick selections, and the program does the rest! In literally 30 minutes, you can have a Hollywood-style production all ready to share via email, Web, portable media player or DVD.
Getting Started: Adding Content
The first task is to bring your video clips into the computer, if you haven't already. Use your video camera's transfer software, or use Creator's Media Import utility (found in the Roxio Home screen under Video>Import>Capture Video) to capture clips automatically. CineMagic can handle all major Windows video file formats, so don't worry about that for now. Once you have your clips ready, as well as any still photos you might want to mix in with the video, it's time to start. Choose Edit Video Automatically from the Video task list on the Roxio Home screen, and the CineMagic Assistant will open:
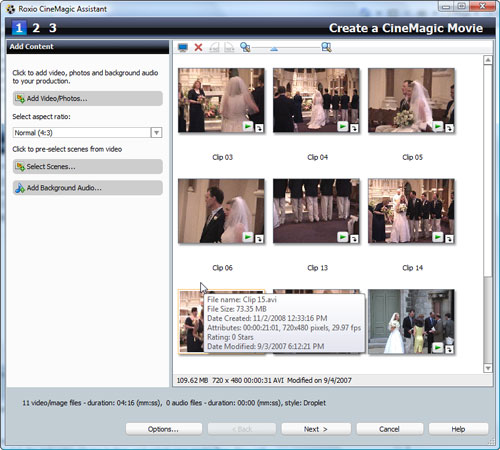
Adding video clips to a CineMagic project.
Step one is to Add Content by bringing in the video clips and photos you want to use in your movie. Just click the Add Video/Photos button, and select your media files from the browser. They will appear in the viewer at right, where you can also play any clip to preview it by clicking the little arrow in the corner. Tip: Number your clips if you want CineMagic to keep them in a particular order. Here, we are creating a wedding video, and want our scenes in sequential order.
Next, click on the Select Scenes button, and you'll see a list of all the distinct scenes that appear in your clips. If there are any that you definitely want to appear in the movie, click the box at lower left of the thumbnails to add a checkmark. Also select any you DON'T want to appear by double-clicking to add a red "X." Any remaining scenes may or may not be used, depending on the length and style of movie you choose later on. Click the Preview button to play a selected scene.
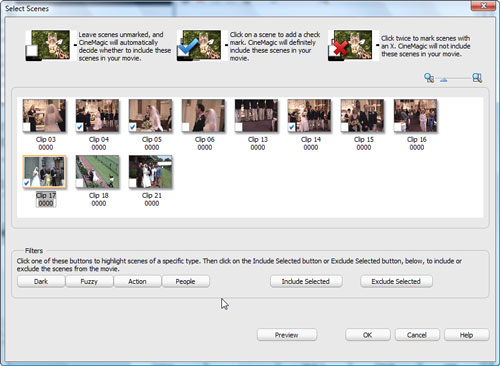
Selecting scenes to use in your video.
Clicking OK brings you back to the CineMagic window, where it's time to add background audio to your project. You can choose to add an audio track, such as a CD track or MP3 file, or use SmartSound audio to create custom "mood" music that fits your video length precisely.
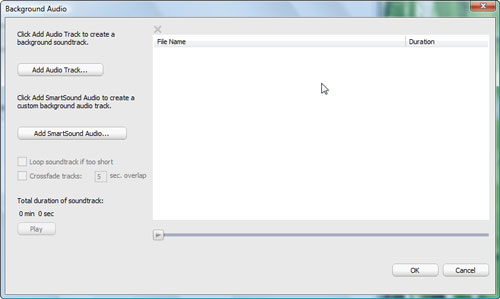
Selecting background audio for a CineMagic project.
We chose to use SmartSound audio, so were presented with additional options. With SmartSound, you first select a style of music, such as Blues, Jazz, Latin or Classical, then a title, and then variations on that theme, depending on the mood you want to project in your video. For our wedding video, set mostly in a church, we selected Classical>Handel Air Piano>Memories. You can also specify a length for your music.
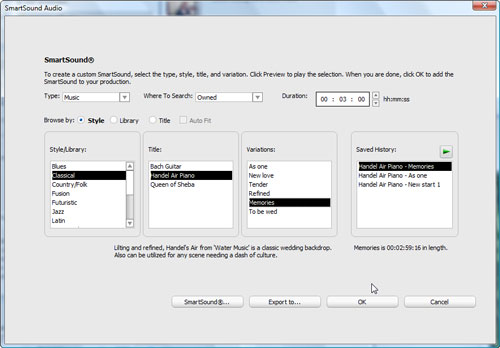
Adding custom SmartSound background audio.
Customizing Your Movie
Just a few more decisions now, you're almost there! Click Next to go to Step 2, where CineMagic lets you customize your movie by choosing a style, such as Party, Sports, Theater, Travel or Wedding. You'll also choose a duration for your movie, or whether you want it to fit precisely to the background audio you've already selected. For our wedding video, we chose to have CineMagic keep the clips in sequential order, and entered a title for the video: "Liz & Dave, June 2003." At this point, you can preview the entire movie, and then go back and change things if you like.
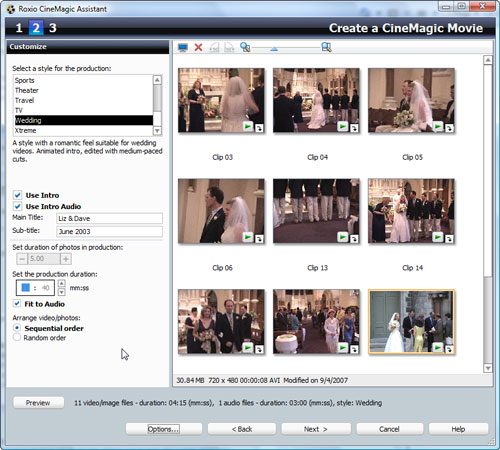
Customizing your CineMagic movie.
That's all there is to making the movie. Now it's time to Save & Share it! There are several options for sharing, including Burn to Disc, Share Online, and Create Video File.
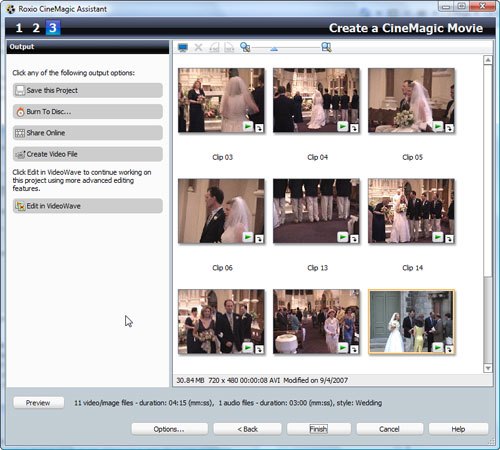
Saving & Sharing your CineMagic movie.
We chose to Create Video File, so we could put the movie on a portable player in the AVC/H.264 format supported by the iPhone, iPod Touch, Sony PSP and others. A dialog box of options will pop up. Select the format and quality level you want. (The higher the quality, the bigger the file.)

Saving & Sharing options.
You can save multiple versions of the video for different purposes, such as for playback on your HDTV and iPod. Rendering the movie will take some time, but it goes surprisingly fast. For a typical short video, take a coffee break, and it will probably be done when you come back! Then be sure to send it to all your friends!

The final rendering.