Our family LOVES Halloween and we give a major Halloween party each year, with a haunted house for the kids, costumes for the adults too, and food for all. In the past that has meant painstakingly addressing and mailing 50-75 printed invitations—an expensive and time-eating task!
Since we now have email addresses for pretty much everyone on our list, we thought we'd go the email route this year, which also makes RSVPs quick and easy. But we still wanted the invitation to be special and convey the spirit of the party—not just a plain message. We also wanted to get people excited about coming!
So we decided to make a fun PhotoShow invitation, complete with captions and music. Roxio PhotoShows are free and easy to make, and you can email them directly to your recipients. We made and mailed this year's holiday party invite in less than an hour! (And started getting RSVPs and compliments immediately!)
Here's how to do it:
First, choose a few pictures from Halloweens past or find appropriate images on the Web, then go to PhotoShow.com and log in (if you don't already have an account, creating one is easy). Next, click "Make a PhotoShow" at the top of the screen. You'll be asked to upload your photos. When you're done, the fun begins!
Next, you'll be prompted to enter the title and credits for your PhotoShow, which we used for our main invitation text (Halloween Open House is the title).
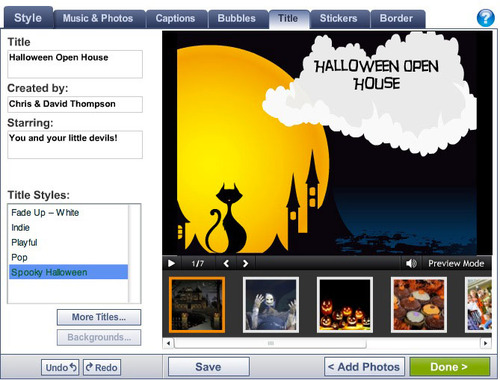
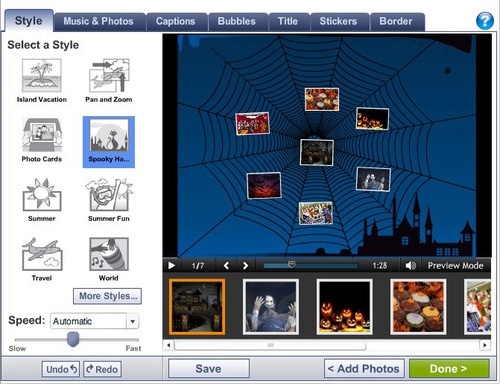
Now it's time to choose a style, or overall theme, for the show. We chose "Spooky Halloween" for our show, which comes with a really neat title sequence.
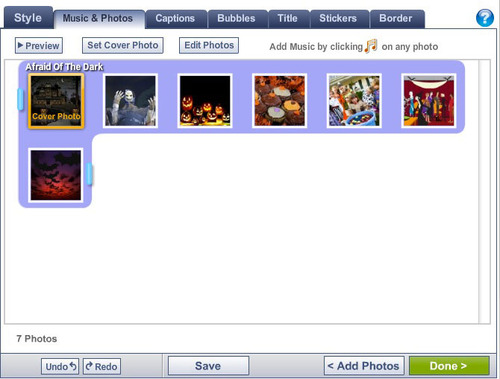
If your photos are not in the right order, or you'd like to change the background music, click on the Photos & Music tabe now, and simply drag to rearrange. Click the musical note icon on any photo to choose different music, or upload your own, if you have a Premium account. The Spooky Halloween style comes with its own spooky music!
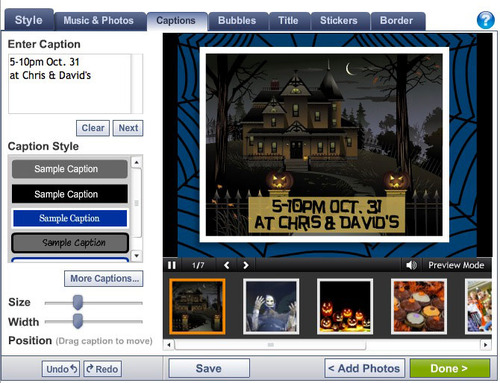
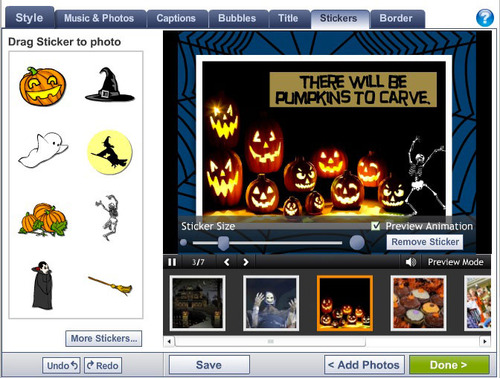
Next, we added captions to each photo, and chose a caption style that matched the Title text.
Finally, we clicked the Stickers tab and added some cool Halloween animations to a couple of the slides. That was it! PhotoShow did the rest automatically. We could have customized it further, but we were happy with the results. And it was time to start on our haunted house decorating plans!
When you're finished tweaking your invitation, save the PhotoShow and click the Done button. You'll now be presented with various sharing options, such as posting to your blog or Web site, and burning a DVD. Here, you'll be choosing the email option to send the invitation directly to your friends from PhotoShow.
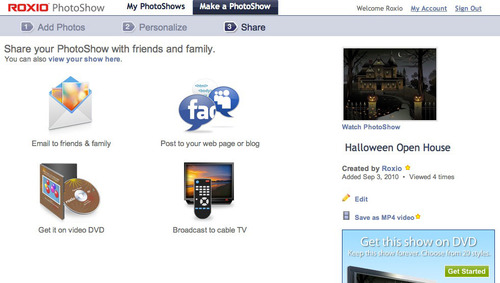
Now you simply enter the email addresses of your recipients, add a message if desired (we included driving directions and RSVP information in our message so that they could be printed out easily), and click the Send button! Tip: If you have a lot of addresses, and don't want to enter them all in PhotoShow, simply send one invitation to yourself, then forward it to your recipients from your regular email program.
Here's our finished PhotoShow. What will yours look like? Please invite us!
