For a truly exceptional Mother's (or Father's) Day gift, try making a family video scrapbook on high-definition DVD or Blu-ray Disc. Some good topics might be vacations, birthdays, kids, sports and hobbies. Think about what Mom likes...and what source material you have, then let your imagination go!
With a video scrapbook, you can include photos, videos, captions, background music, titles, transitions and more. Basically, the same kinds of enhancements you might put in a paper scrapbook, but with music and videos too, and displayed in full 1920x1080 resolution on your HDTV using a standard Blu-ray player. Even better, it costs virtually nothing but time!
While we're calling it a scrapbook, it's really just a standard video DVD or Blu-ray with menus, where some of the "videos" are actually photo slideshows, and others are regular home video clips. Here's how to get started:
Step 1: Gather Your Materials
First, gather all the materials you'll be using in your scrapbook: photos, videos, ephemera like ticket stubs and postcards, appropriate music, and so on. If needed, scan printed photos and ephemera, and transfer videos from VHS to digital. Learn how to transfer videos with Creator.
Step 2: Create Your Slideshows
Next, use Creator's Slideshow Assistant to create photo slideshow(s) with your choice of background music. You can customize transitions, add text titles or captions to any slide, and even use voice narration instead of music. Be sure to choose 16:9 widescreen at the beginning. Learn how to make a photo slideshow with Creator.
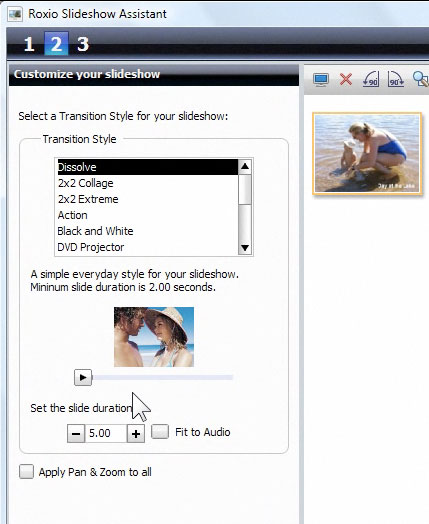
Slideshow options in Creator.
Step 3: Export Your Slideshows
Once your slideshow is done, choose Create File at the end of the Assistant and it will be encoded to a video file.
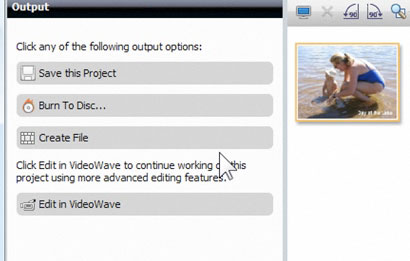
Saving your slideshow to a video file.
Step 4: Assemble Your High-Definition DVD or Blu-ray Disc
Now it's time to put it all together into a finished disc! This is where MyDVD (part of the Creator 2012 suite) shines. First open Creator and select the "Create DVDs" option under the Video/Movies tab. This will launch the MyDVD application. For the project type choose either AVCHD (for High Definition DVDs) or Blu-ray Video, depending on your burner and blank media. Then choose Add New Movie to bring in your home videos and slideshows.
For more information on creating HD discs with MyDVD read our full tutorial.
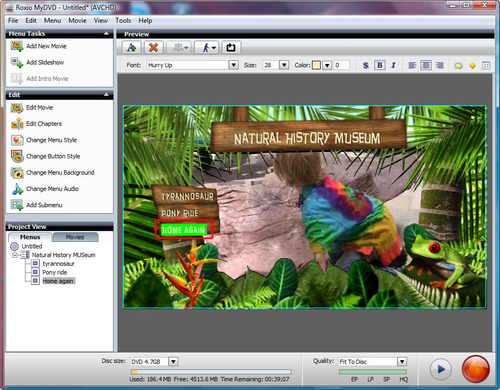
Authoring a High-Definition DVD in MyDVD (click to enlarge).
You'll be able to choose a background theme and title for your disc, as well as other options. Finally click the Burn button at bottom right to write your disc. Save your project in case you want to make changes later, and be sure to make extra copies for the rest of the family!
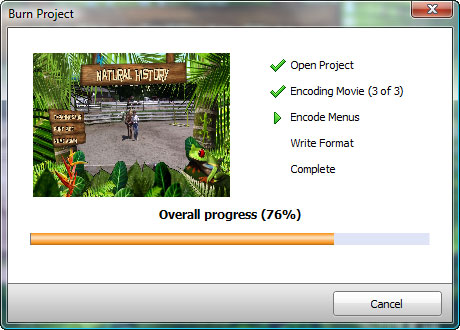
Burning your disc.